Utilizing the USB DFU bootloader
When using the atmega32u4 breakout board in a bare-metal setup we have two options for relfashing: avrdude and an ISP programmer or USB-DFU
with a single USB Type C cable. Using the ISP programmer can be easiest when at a bench and you're actively developing your application and constantly reflashing to test. The
USB-DFU programmer is by far more convenient when your on the go or need to flash an updated application to a finished and installed project. A single USB to
provide power plus data and you can flash your application.
The default variant (bare-metal) of the atmega32u4_breakout comes pre-loaded with the USB-DFU programmer. If you have a board set up to use the Arduino environment
or accidentally mass-erased the chip and deleted the USB-DFU bootloader then checkout this guide to reflash it.
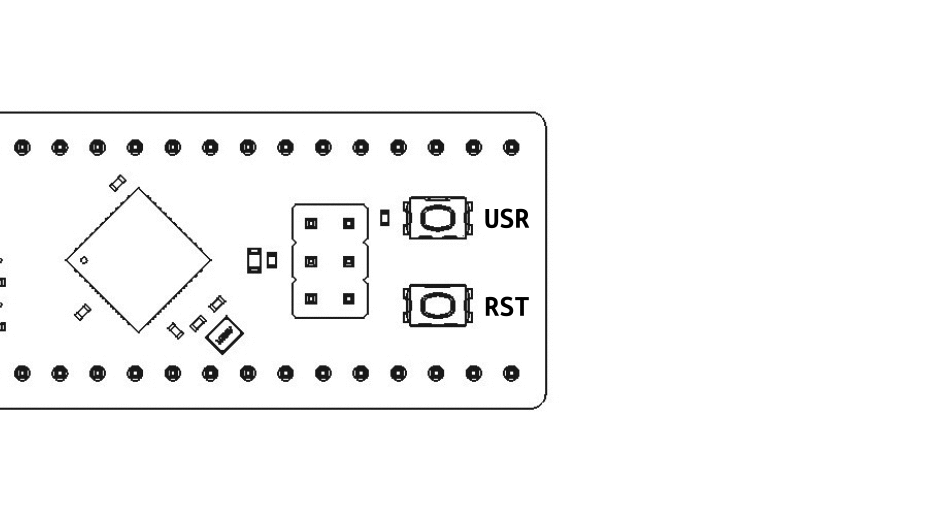
A simple two-button sequence is needed to enter the USB-DFU bootloader:
- Begin by pressing and holding the
RSTbutton - Next press and hold the
USRbutton - Release the
RSTbutton - Release the
USRbutton
Once completing the sequence outlined above and shown below, the USB DFU bootloader should enumerate on your PC. You can now use the make dfu_flash and make dfu_erase
commands in the avr-cmake-template or reflash the board using dfu-programmer directly